Ozone
is an oxidative gas that is useful for sanitizing. Ozone
generators generally consist of corona discharge type units or
uv units and expel ozone into the air for sanitizing and
deodorizing spaces. Sometimes it is useful to have ozone
dissolved into water for water purification or to apply
aqueous ozone to surfaces. Ozone has been shown to induce
systemic resistance towards pathogens in plants at low doses
and can kill fungal spores and bacteria on the surface of
plants leaves and stems. I am also testing its use for sanitizing
the surface of mushroom logs, for sanitizing bulk mushroom substrate,
and for sanitizing potting soil. For the purpose of generating aqueous
ozone, generation of ozone in a confined reservoir is required
to route the gas into a venturi for mixing with water. The
following shows how to construct such a corona discharge
reservoir powered by a fluorescent lamp inverter. To jump
to a more powerful example of a DIY ozone generator follow this link.
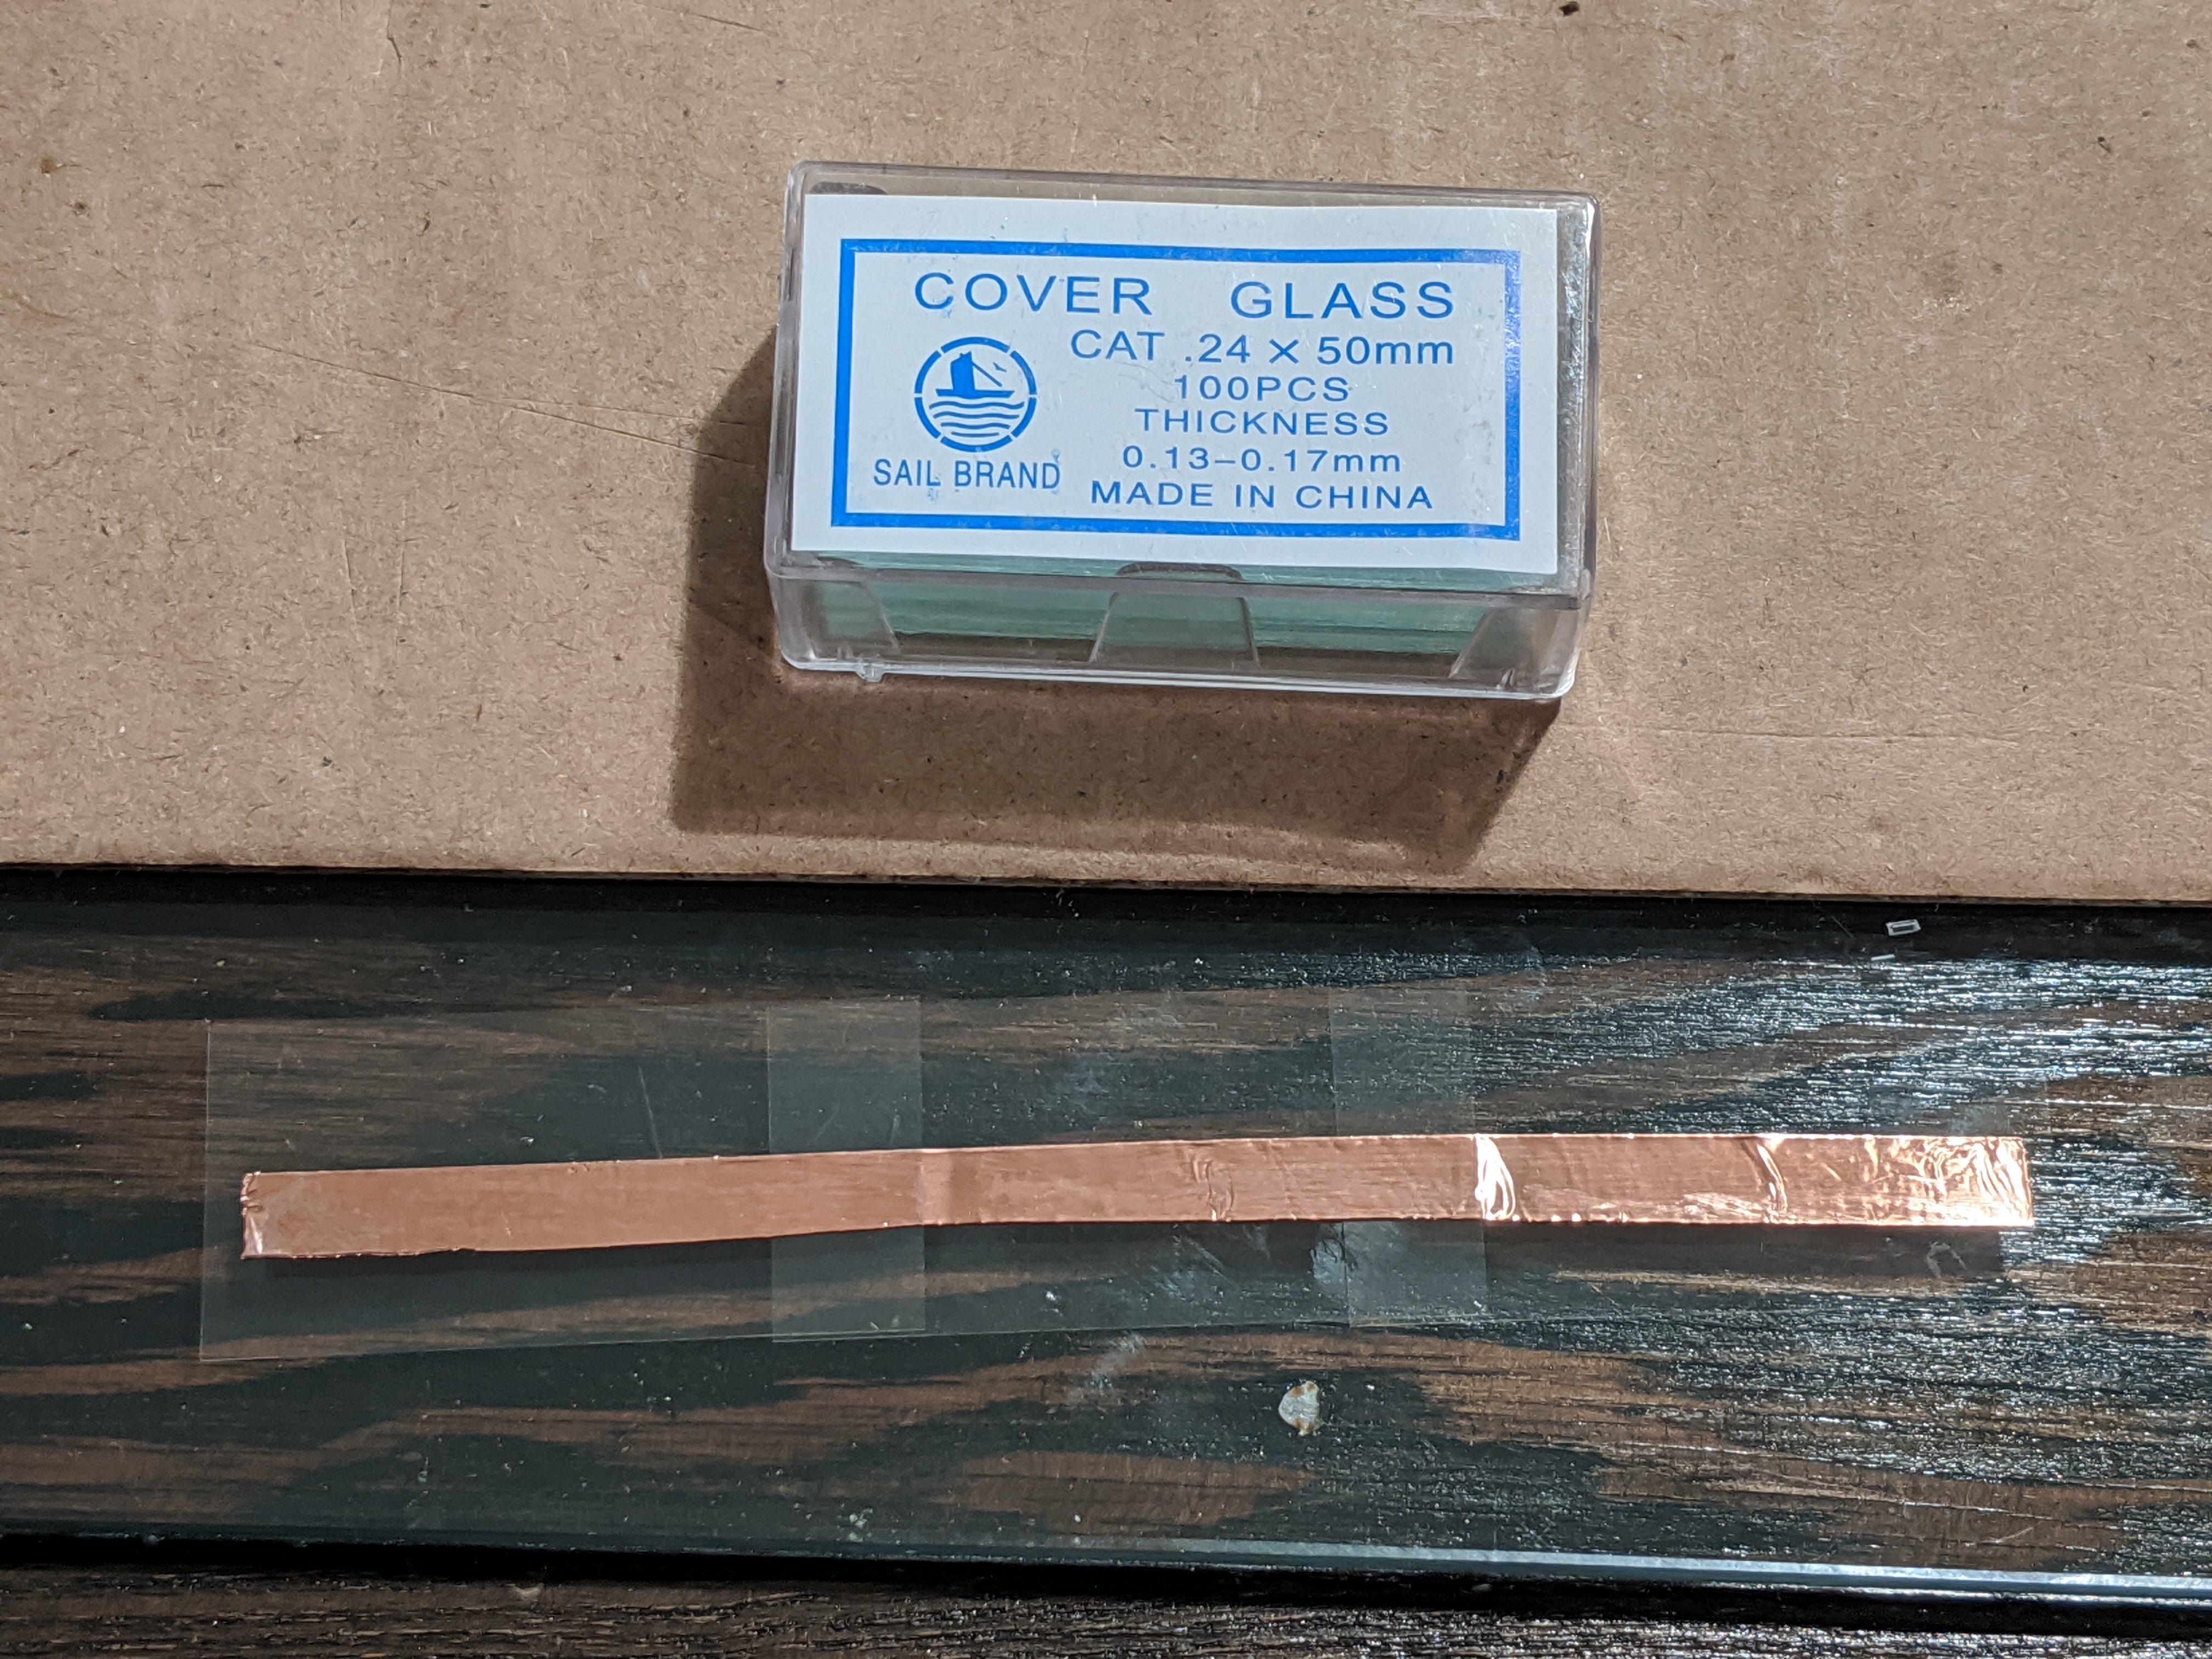
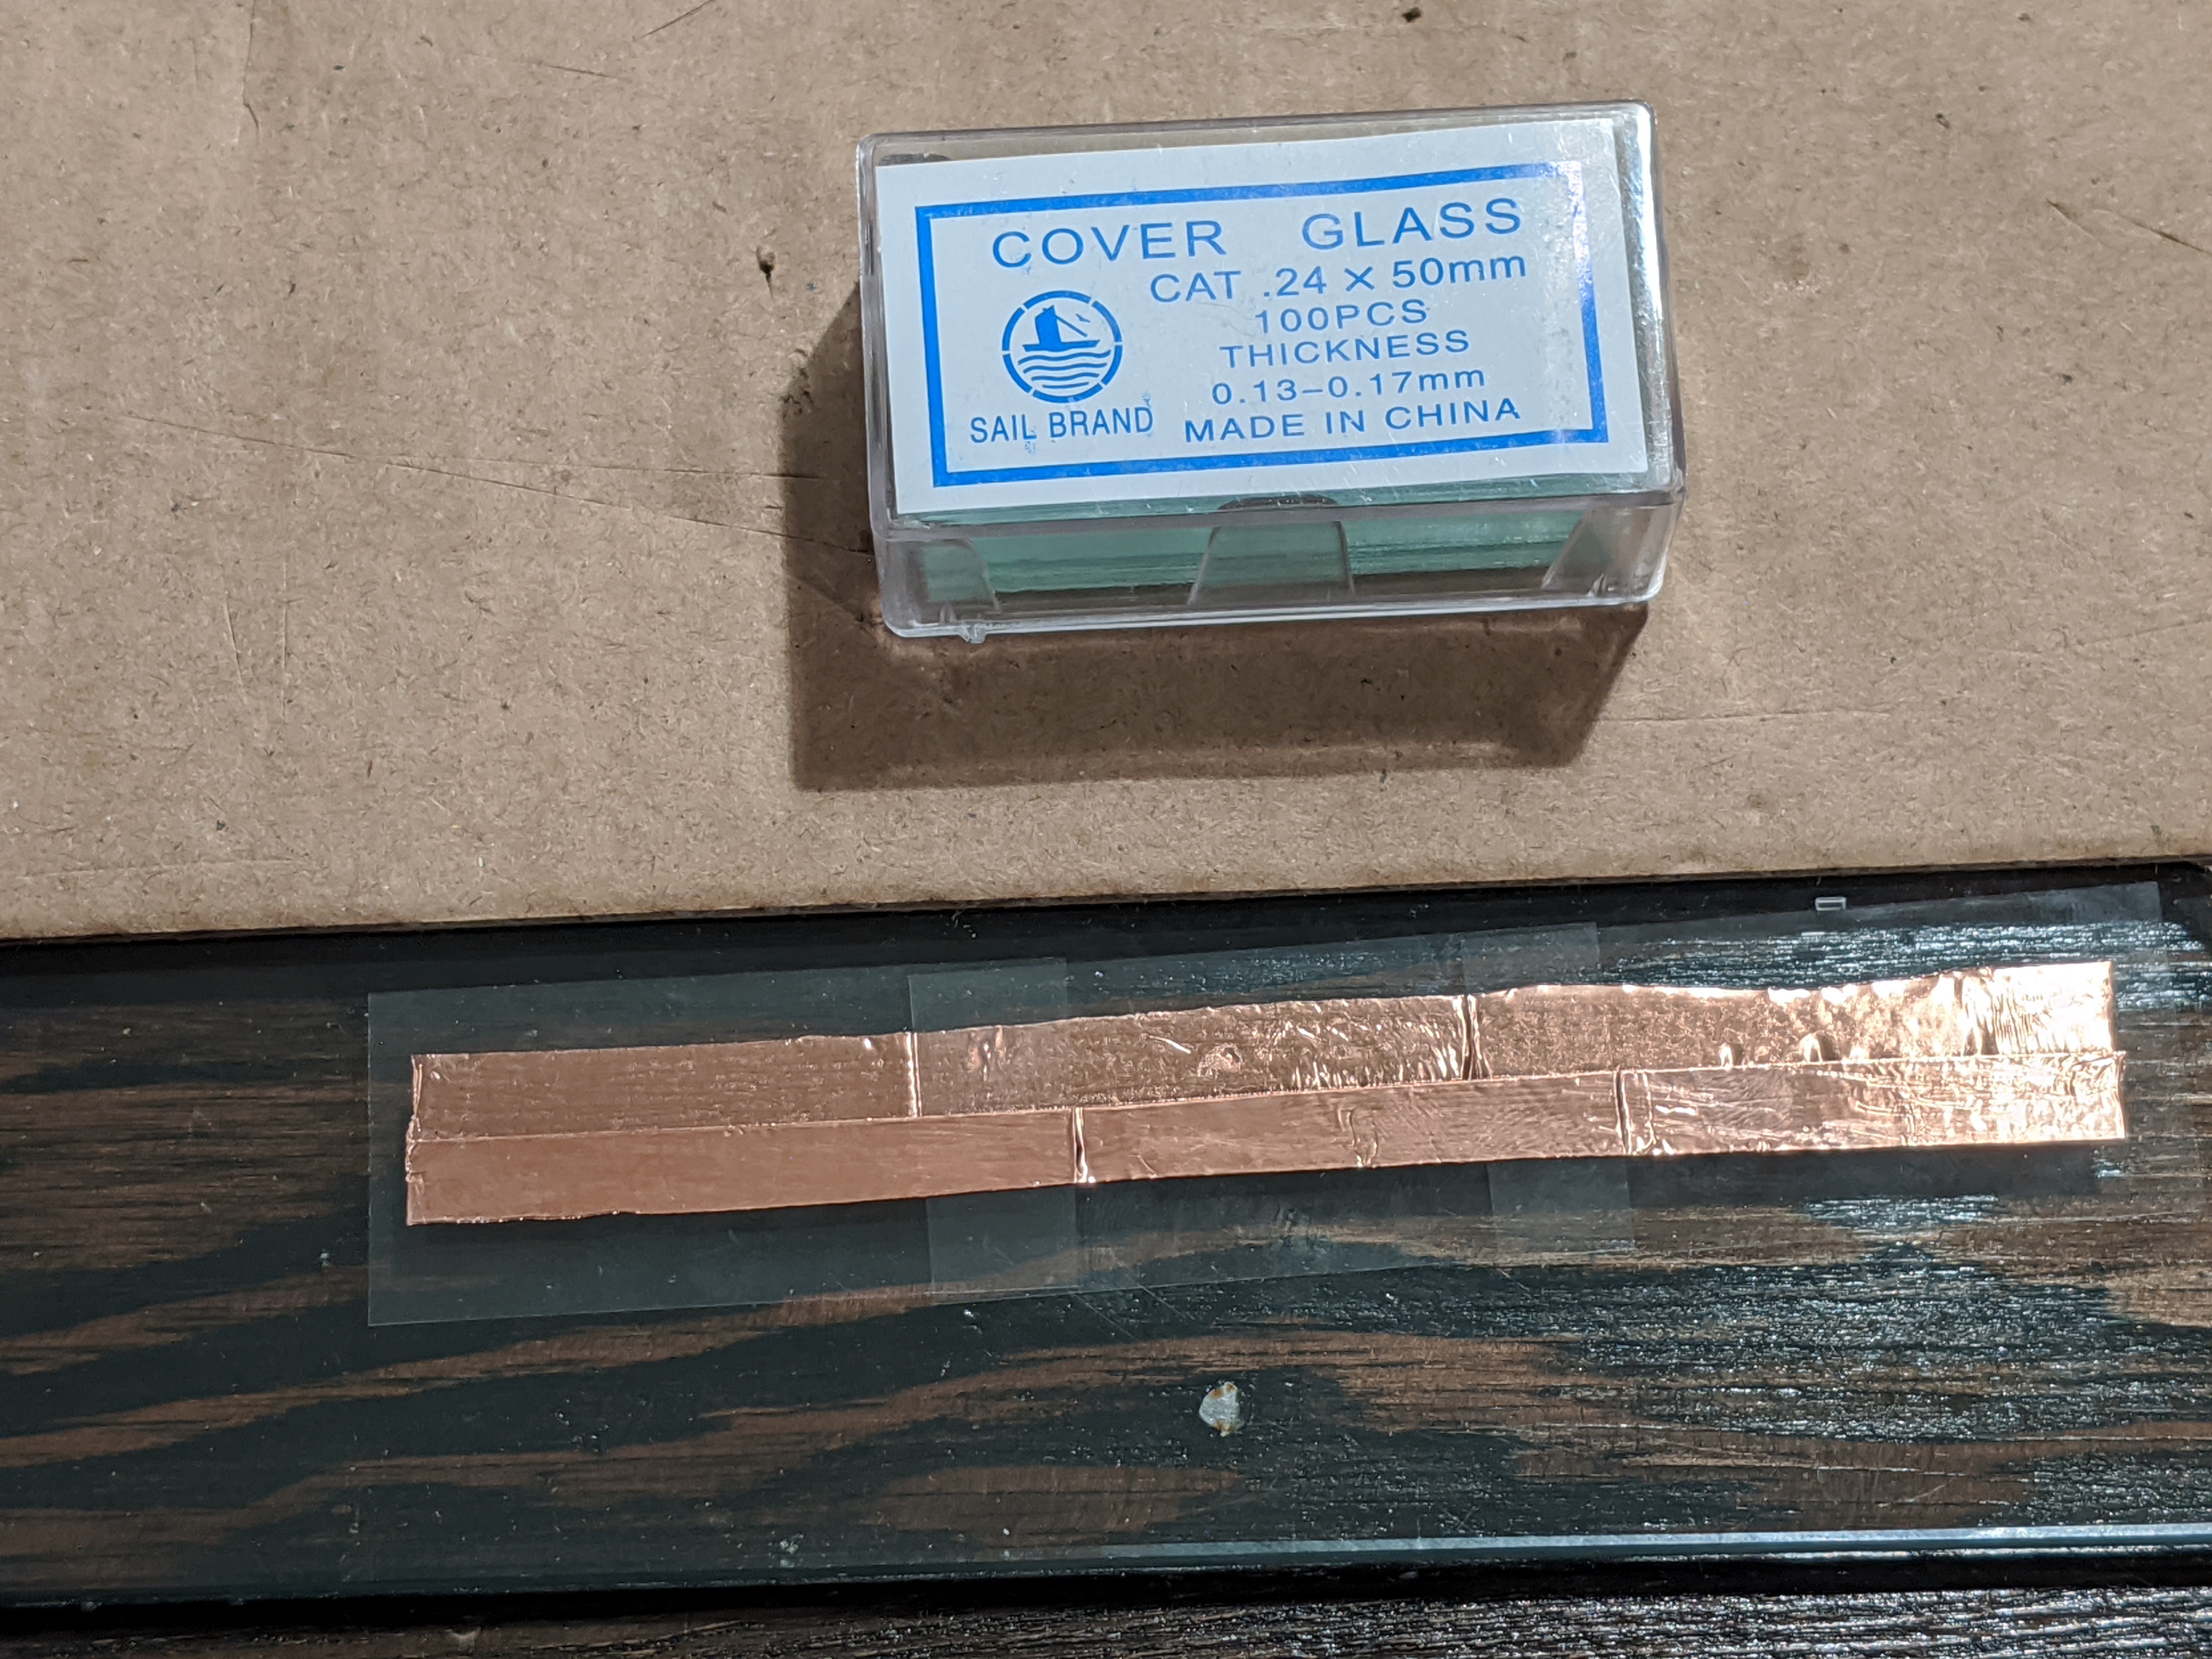
Line up 3 coverslips on a solid surface with 1cm overlap over
each adjacent coverslip.
Cut Copper Tape into thin strip 1 cm shorter than the length
of coverslips
Apply copper tape to slide starting 5 mm from the end,
centering the straightest edge of the copper tape along the
center line of the glass slides.
Flip the glass slides and apply the second copper tape on the
opposite side of the glass aligning the straight edge of the
copper tape along the center line of the glass, along the edge
of the other piece of copper tape.
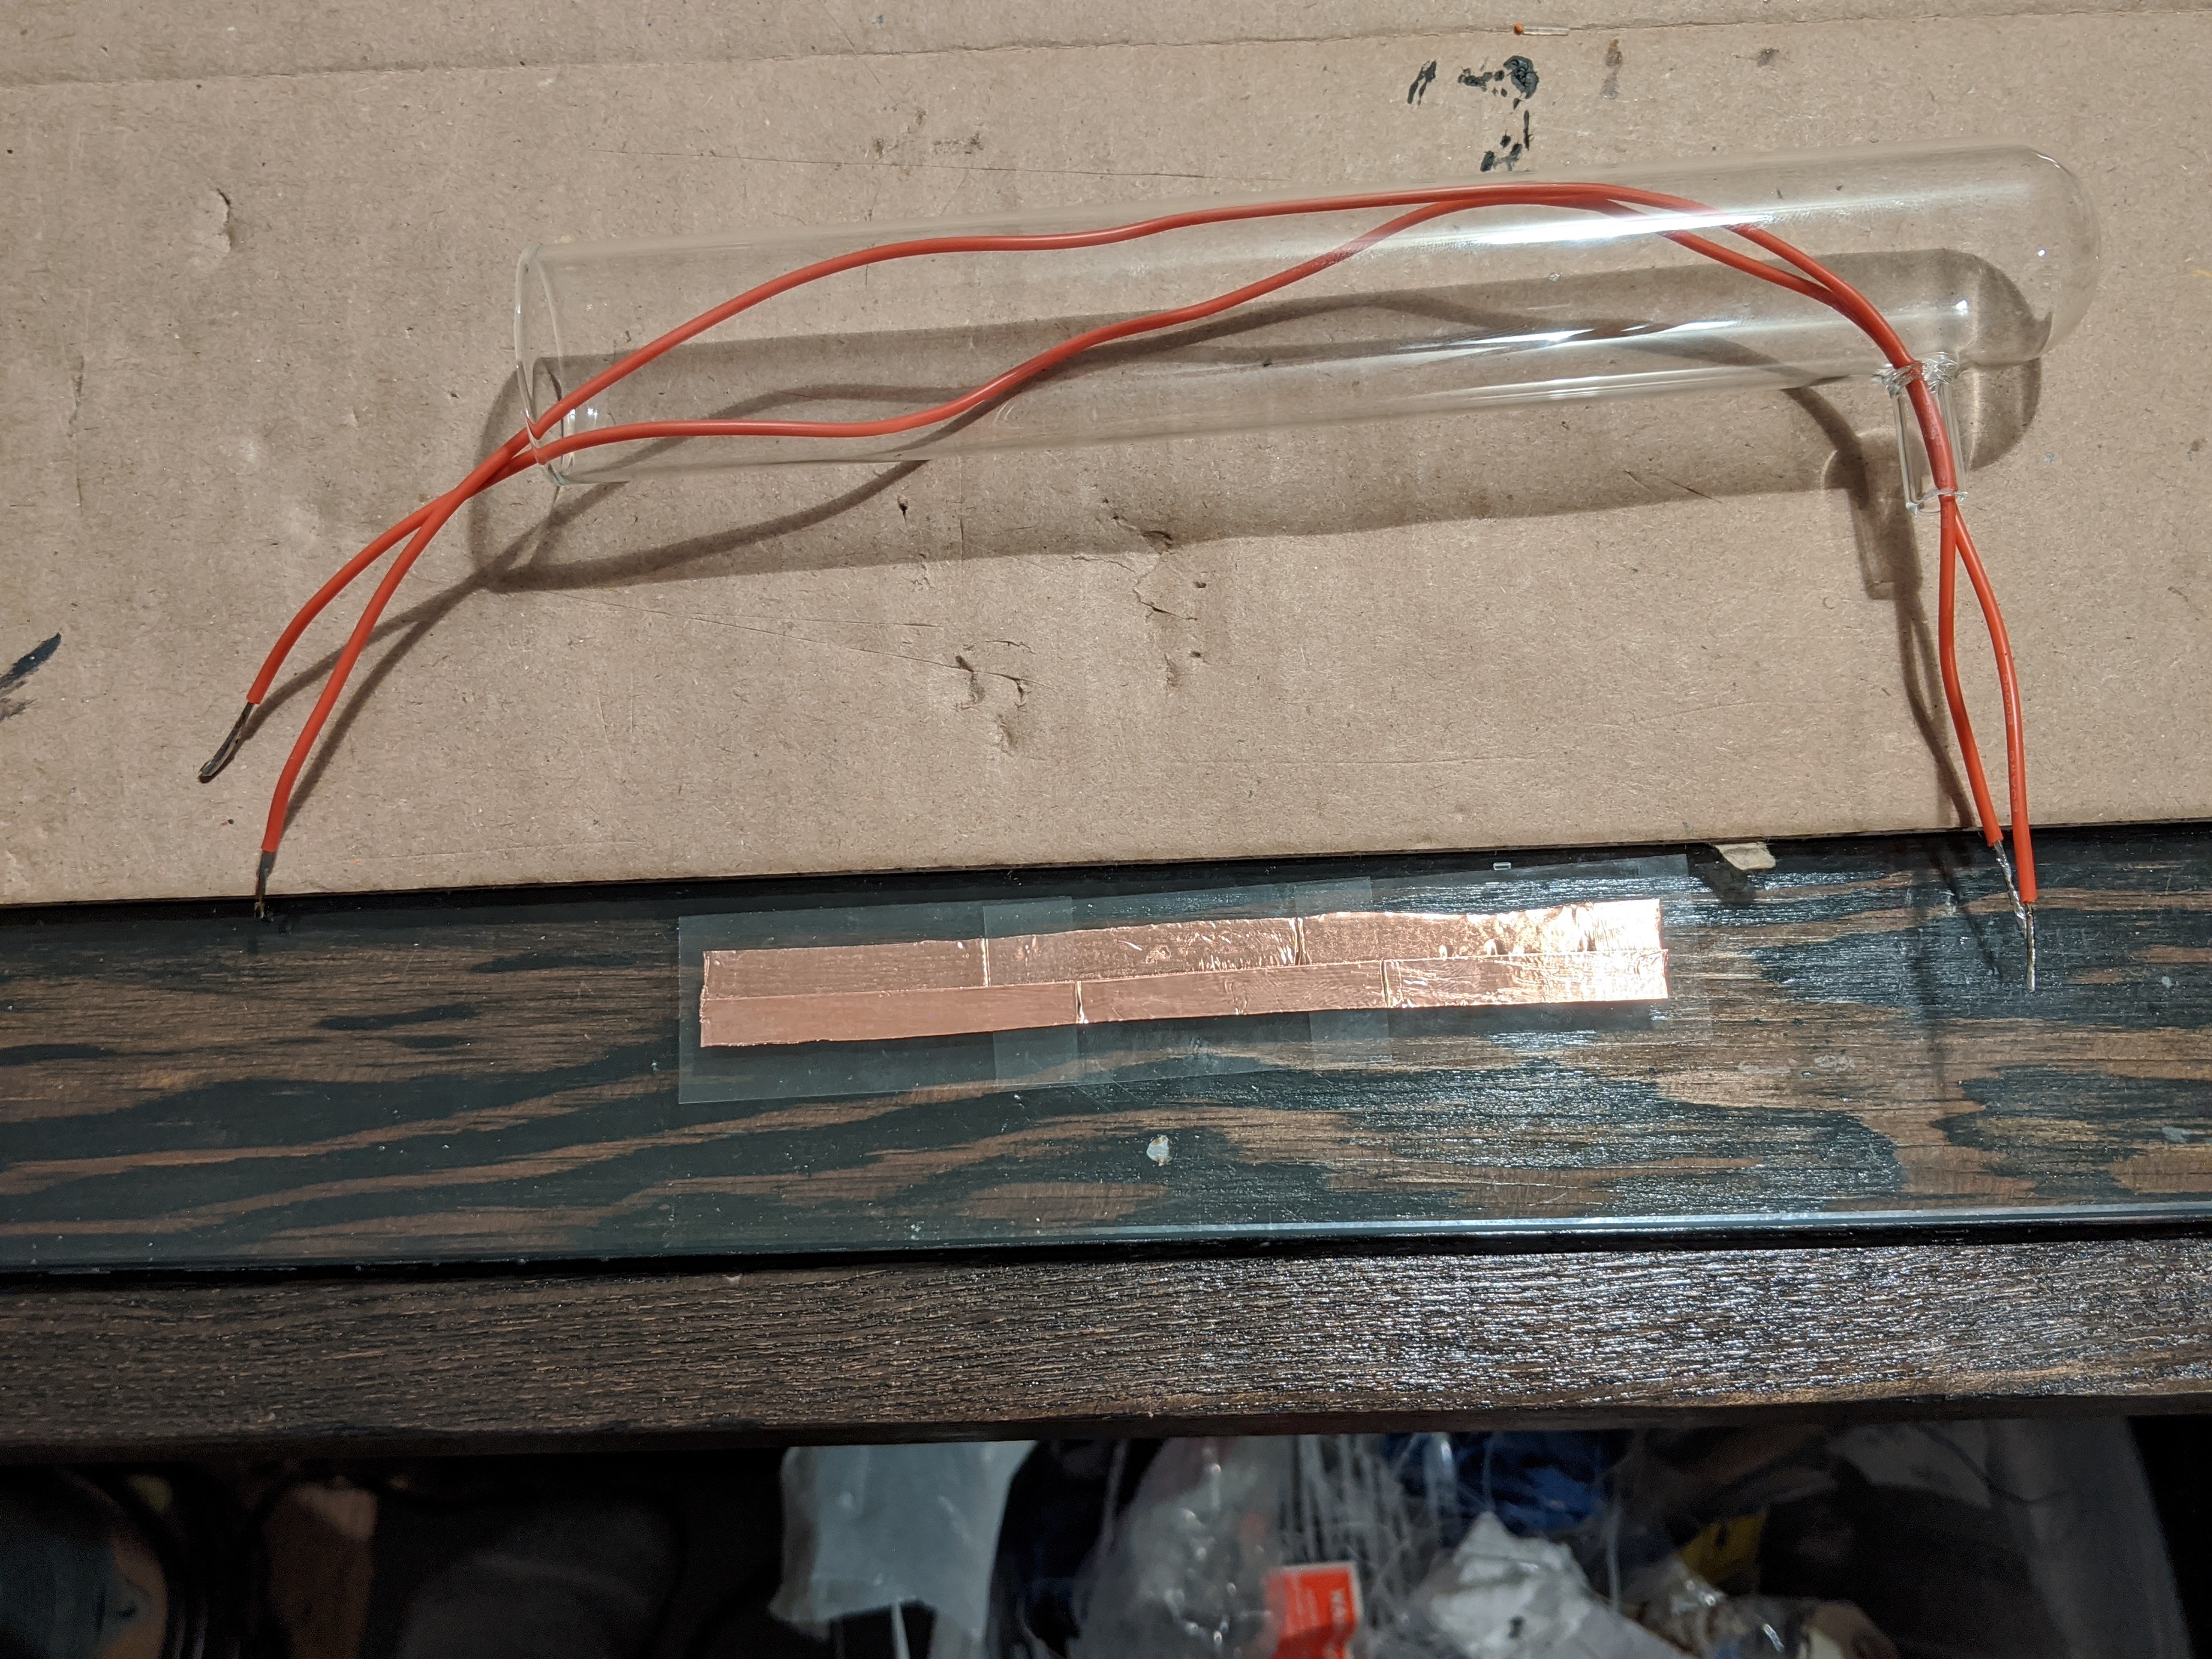
Thread two wires
one and a half times the length of the glass tube through the
tube arm and out the opening and tin the ends with solder.
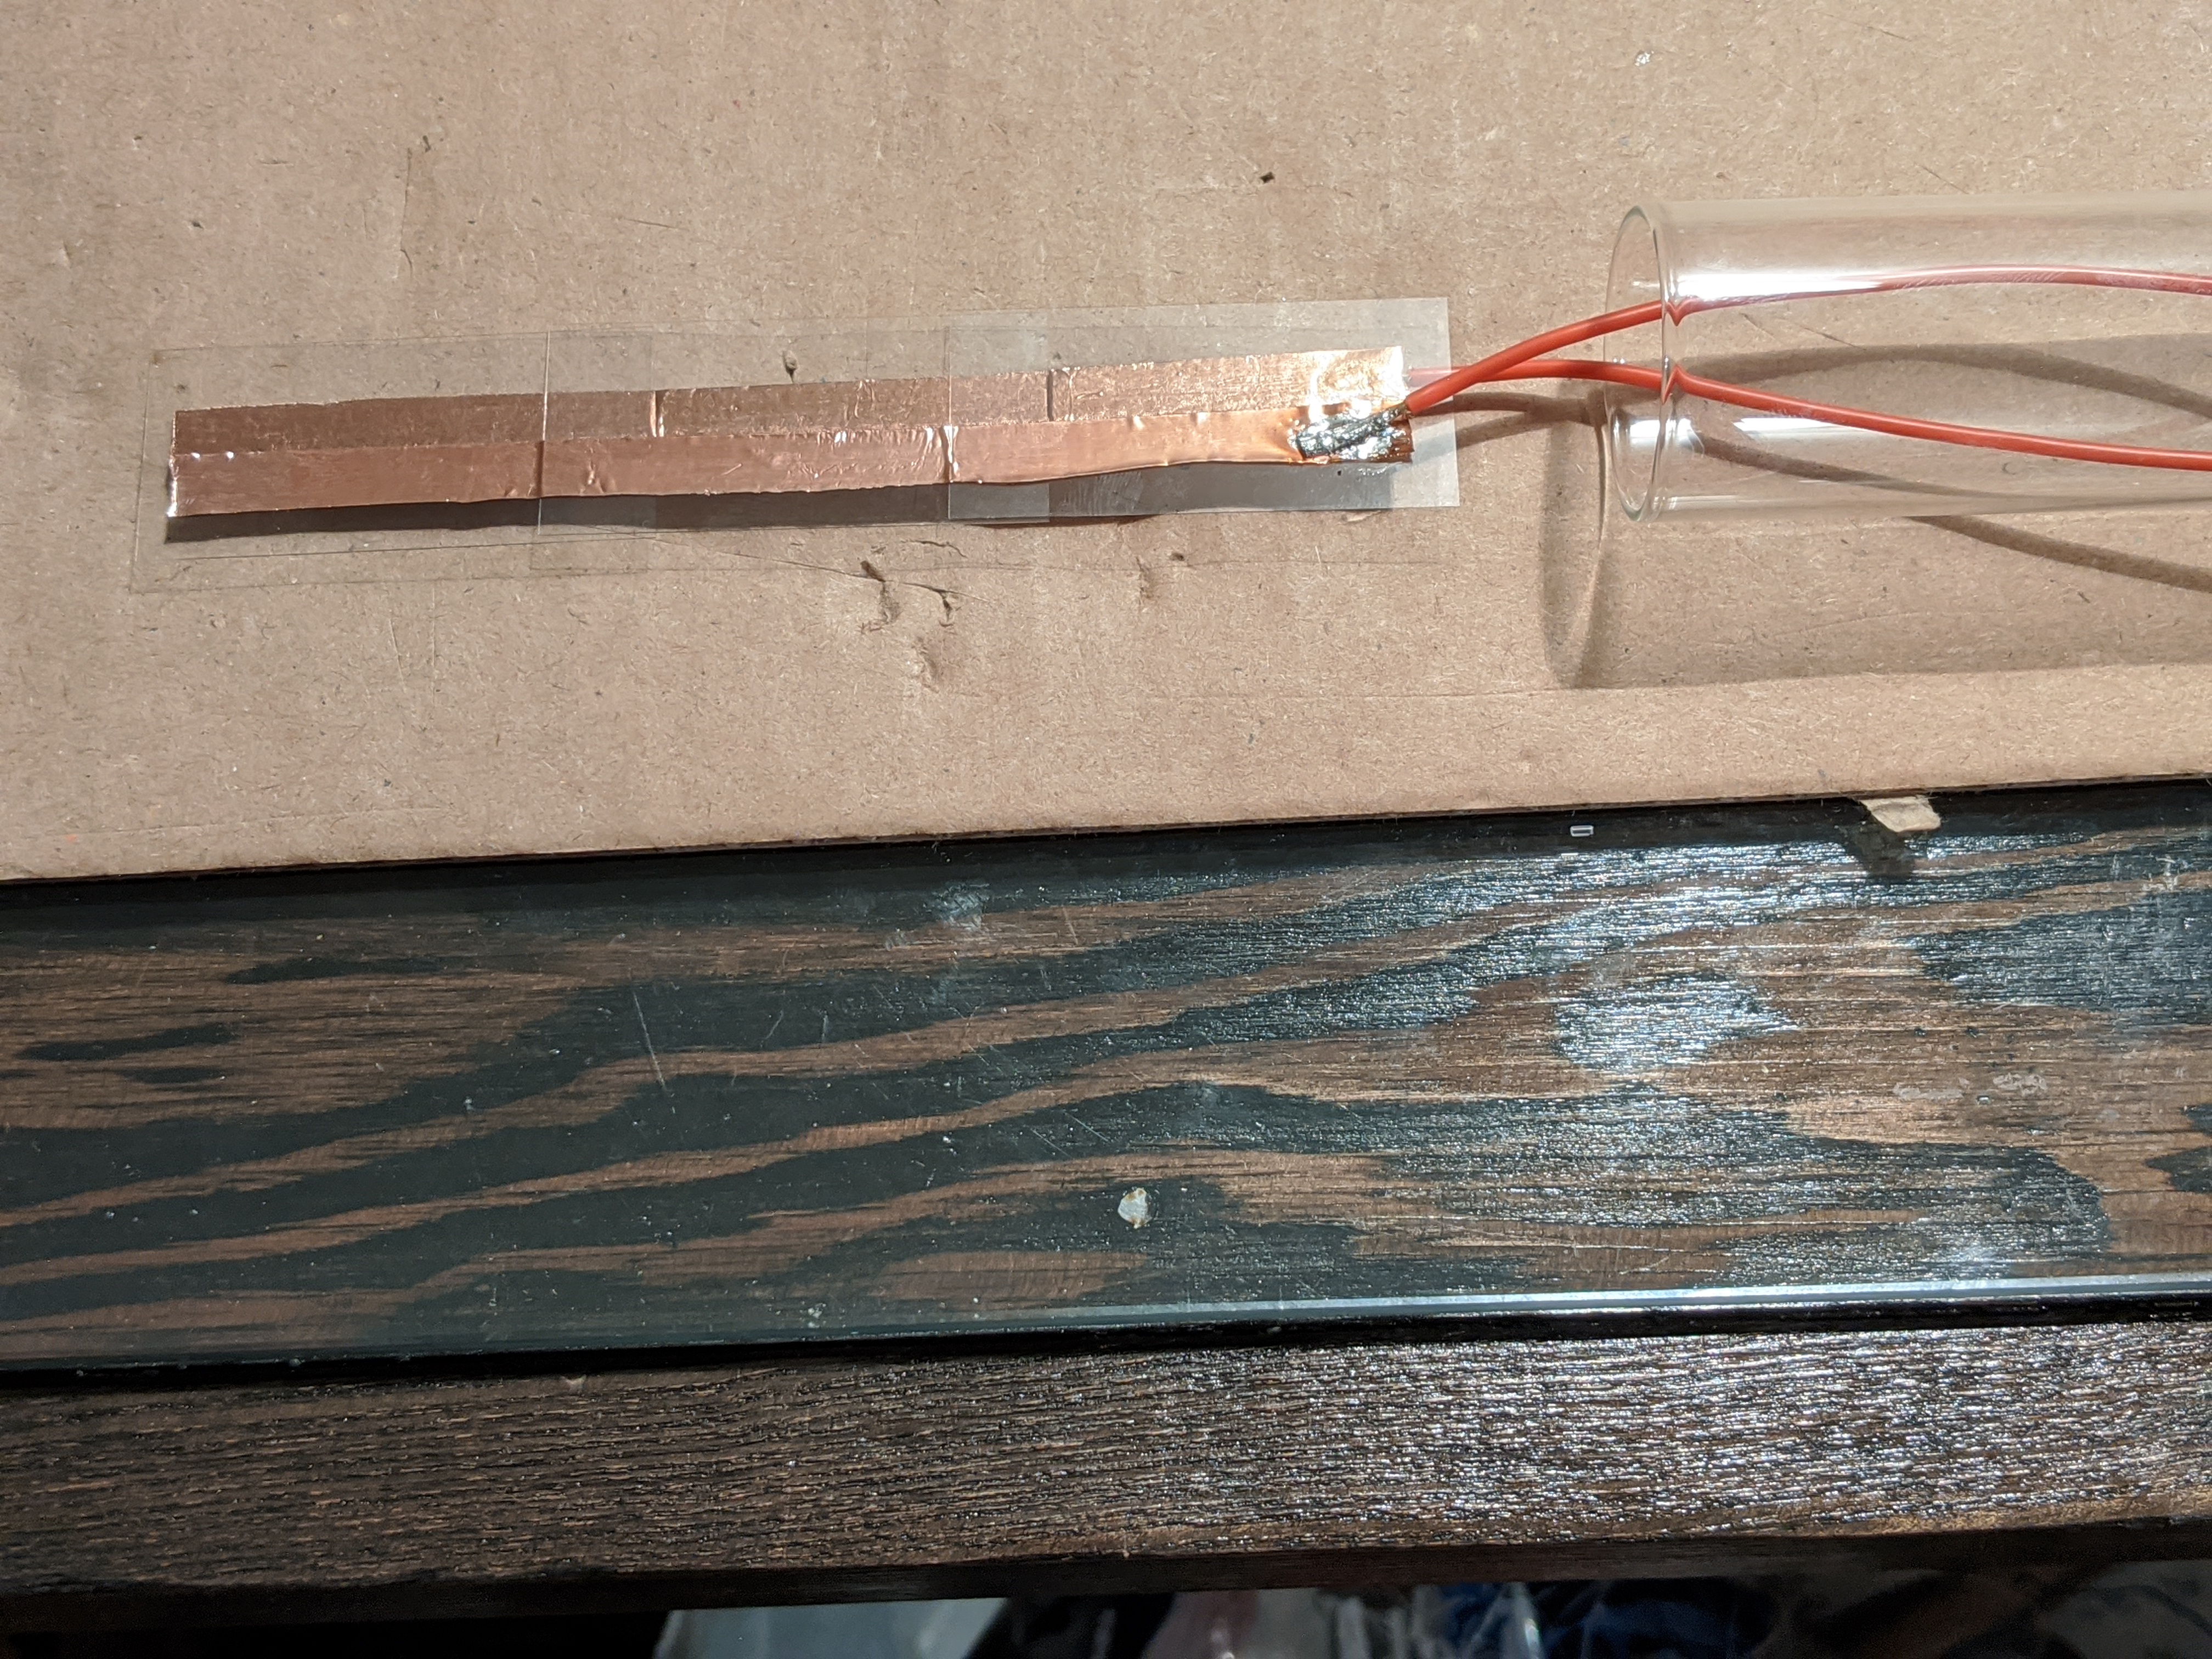
Tin the end of the
copper tape where the wire will be attached, and then solder one wire
to the copper tape on each side of the coverslips.
Gently pull the
wires through the glass arm as you push the glass corona
assembly into the glass tube being careful not to crack the
coverslips.
Cut two holes on
opposing sides of an 8 inch section of silicone tubing about 1.5
inches from the end of the tubing. Holes should be just larger
than the diameter of the wires.
Thread wires
through the silicone tube and out of the holes in the tubing
wall.
Pull wires through
the holes in the silicone tubing and insert the tubing over the
glass arm of the glass tube.
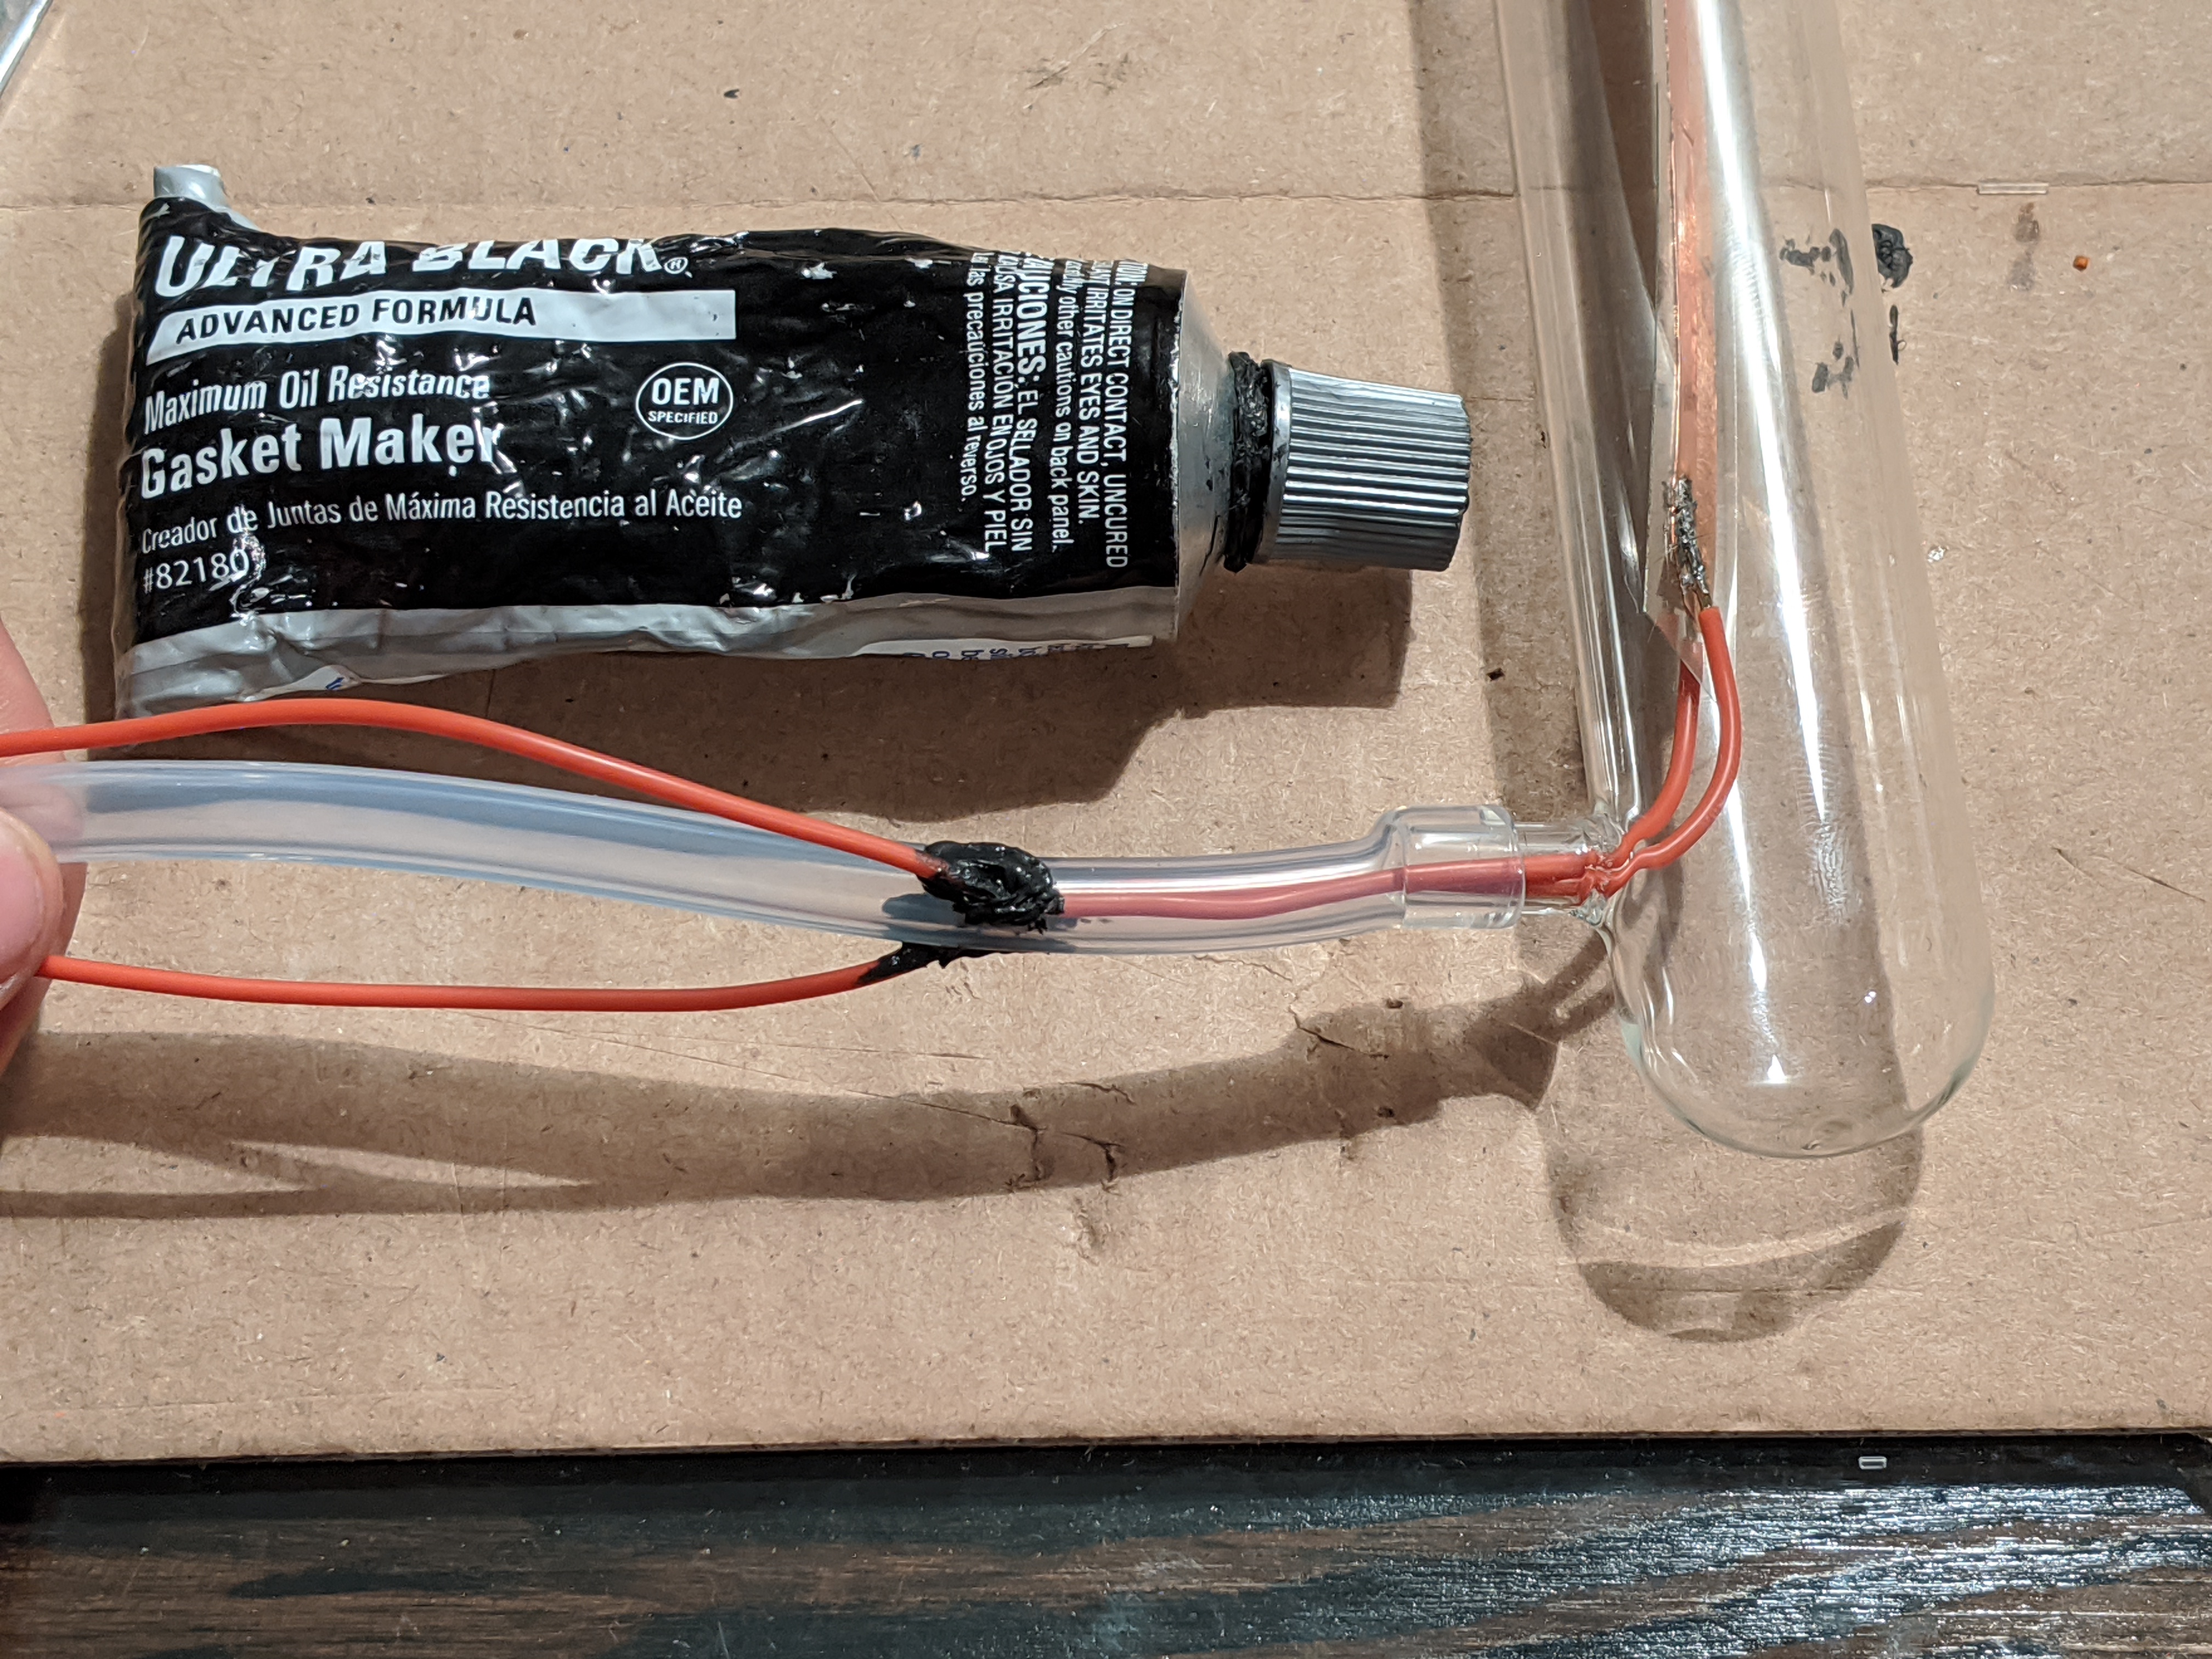
Apply silicone
gasket material to seal the holes where the wires come through
the silicone tubing.
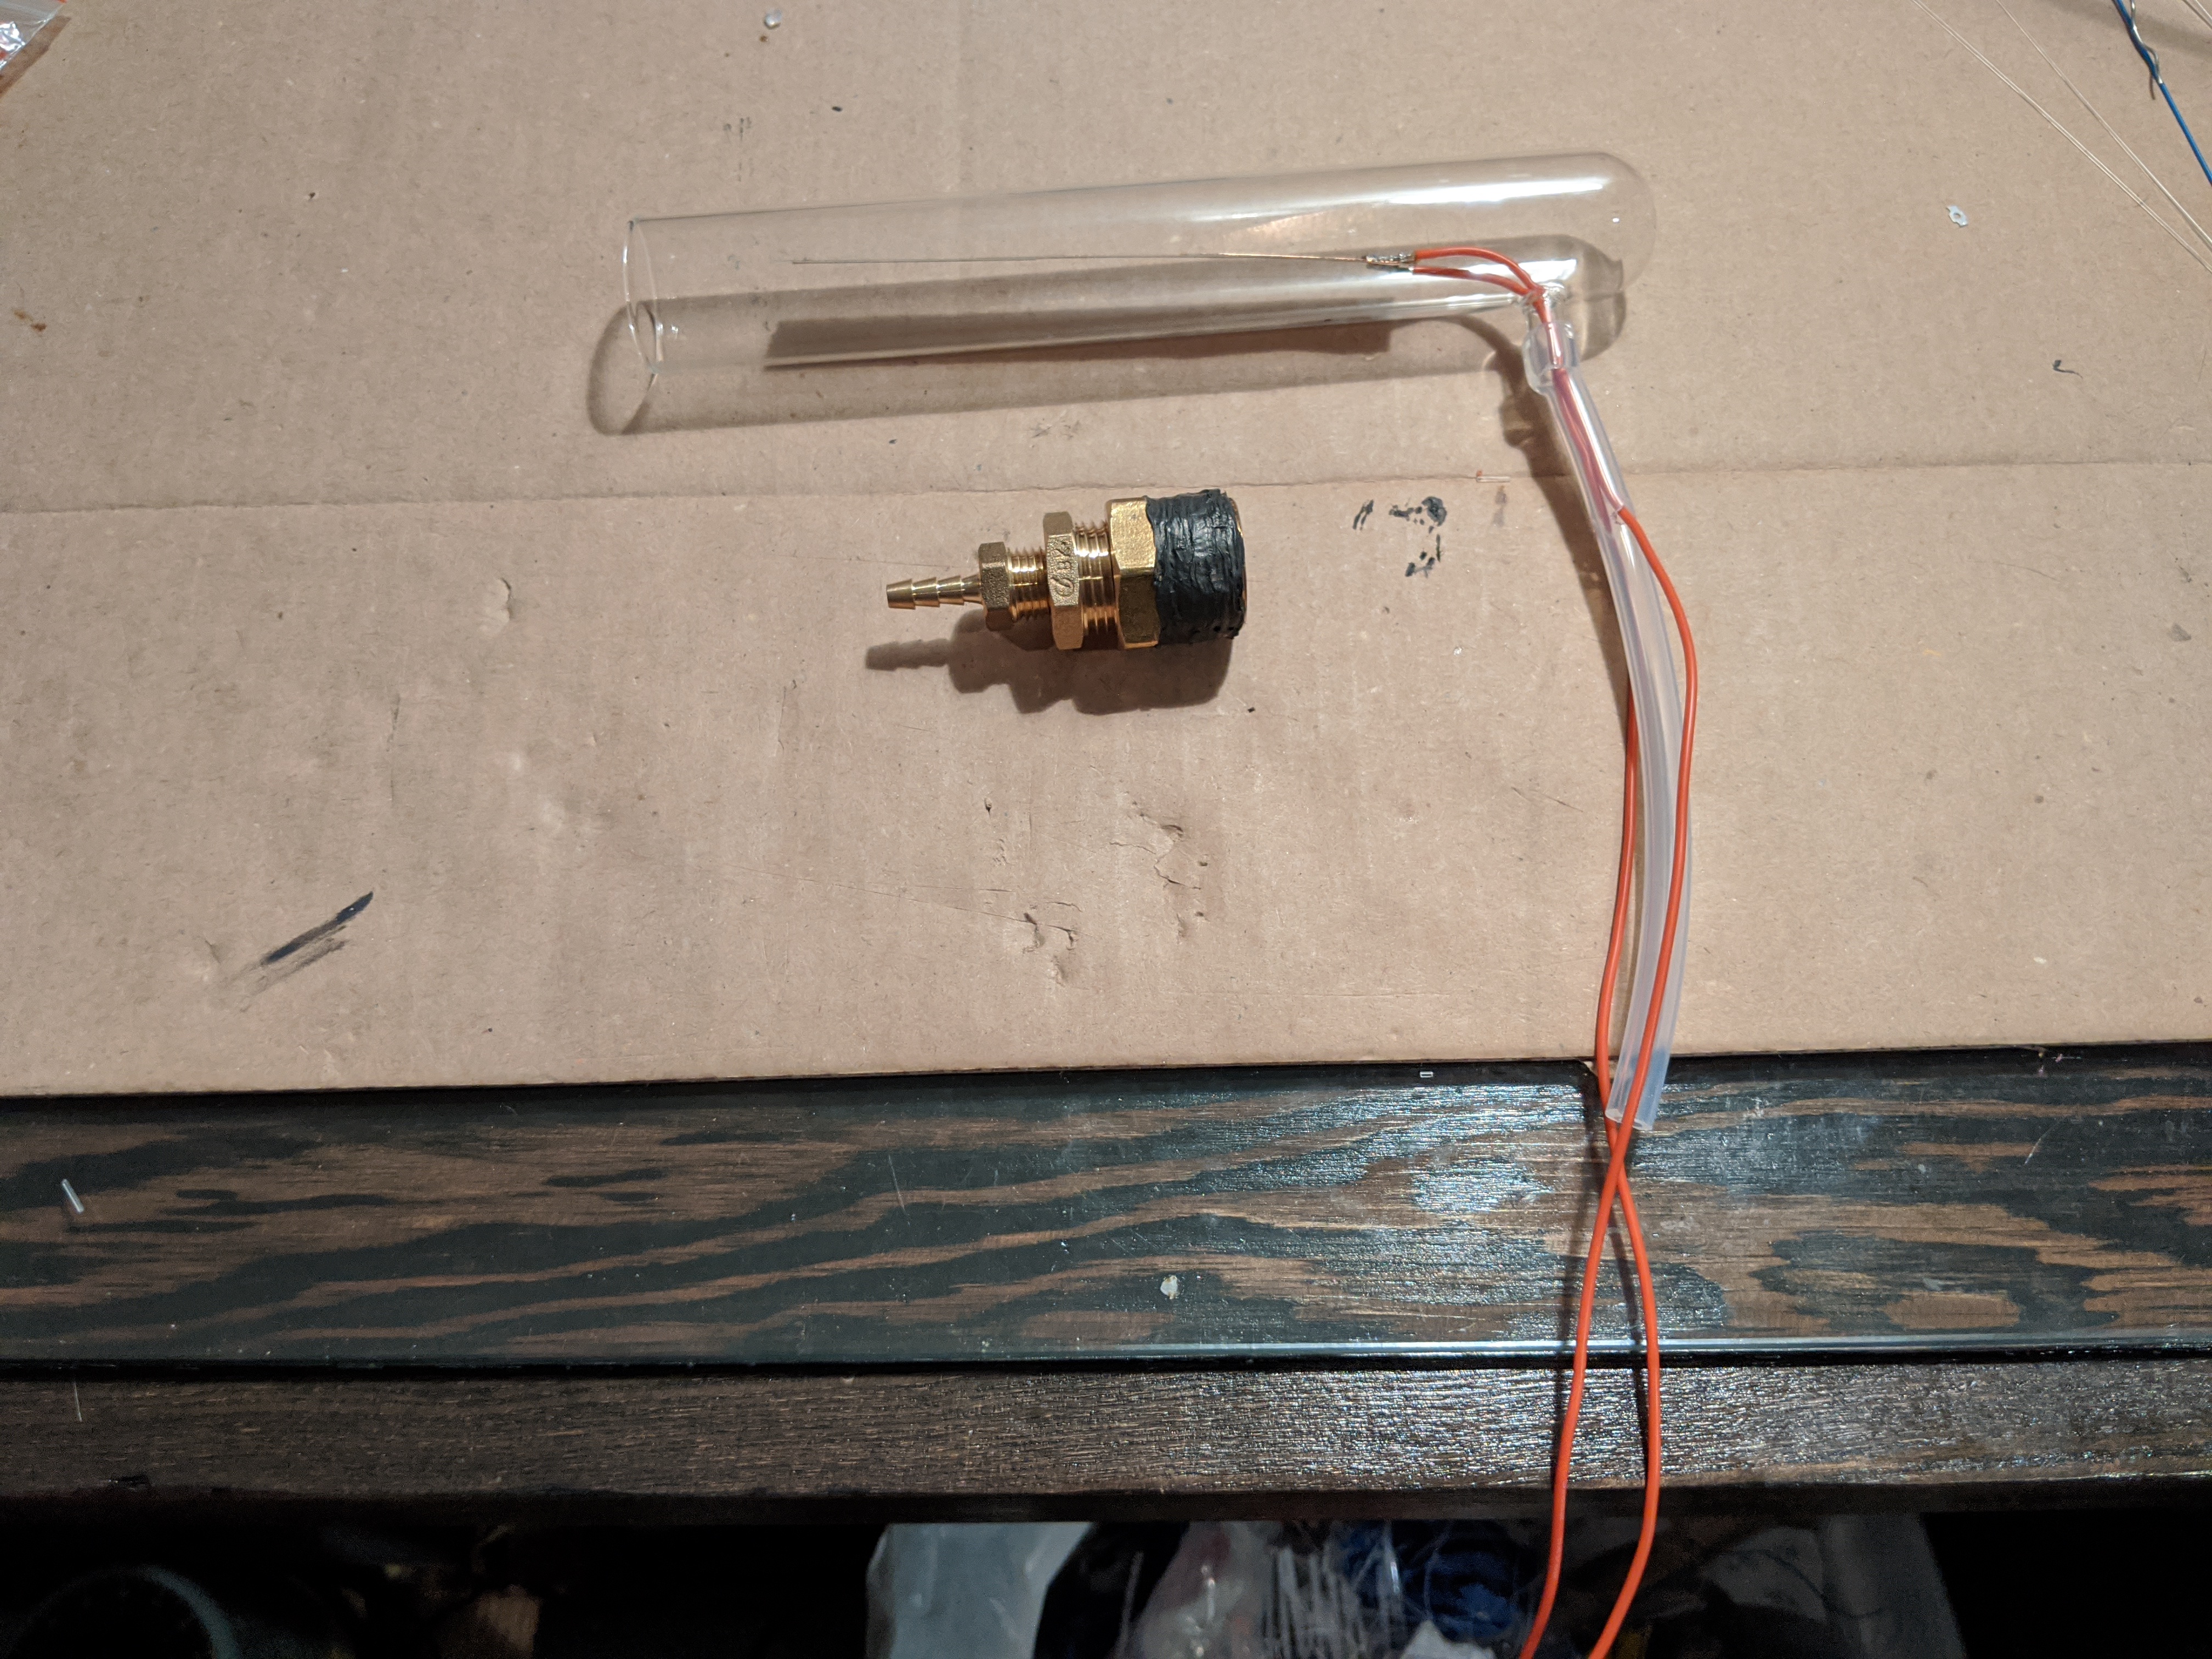
Apply gasket
material over the threads of the largest brass fitting to create
a uniform and smooth layer. It may take several applications to
build the gasket up enough to form a snug fit into the glass
tube, drying between applications.
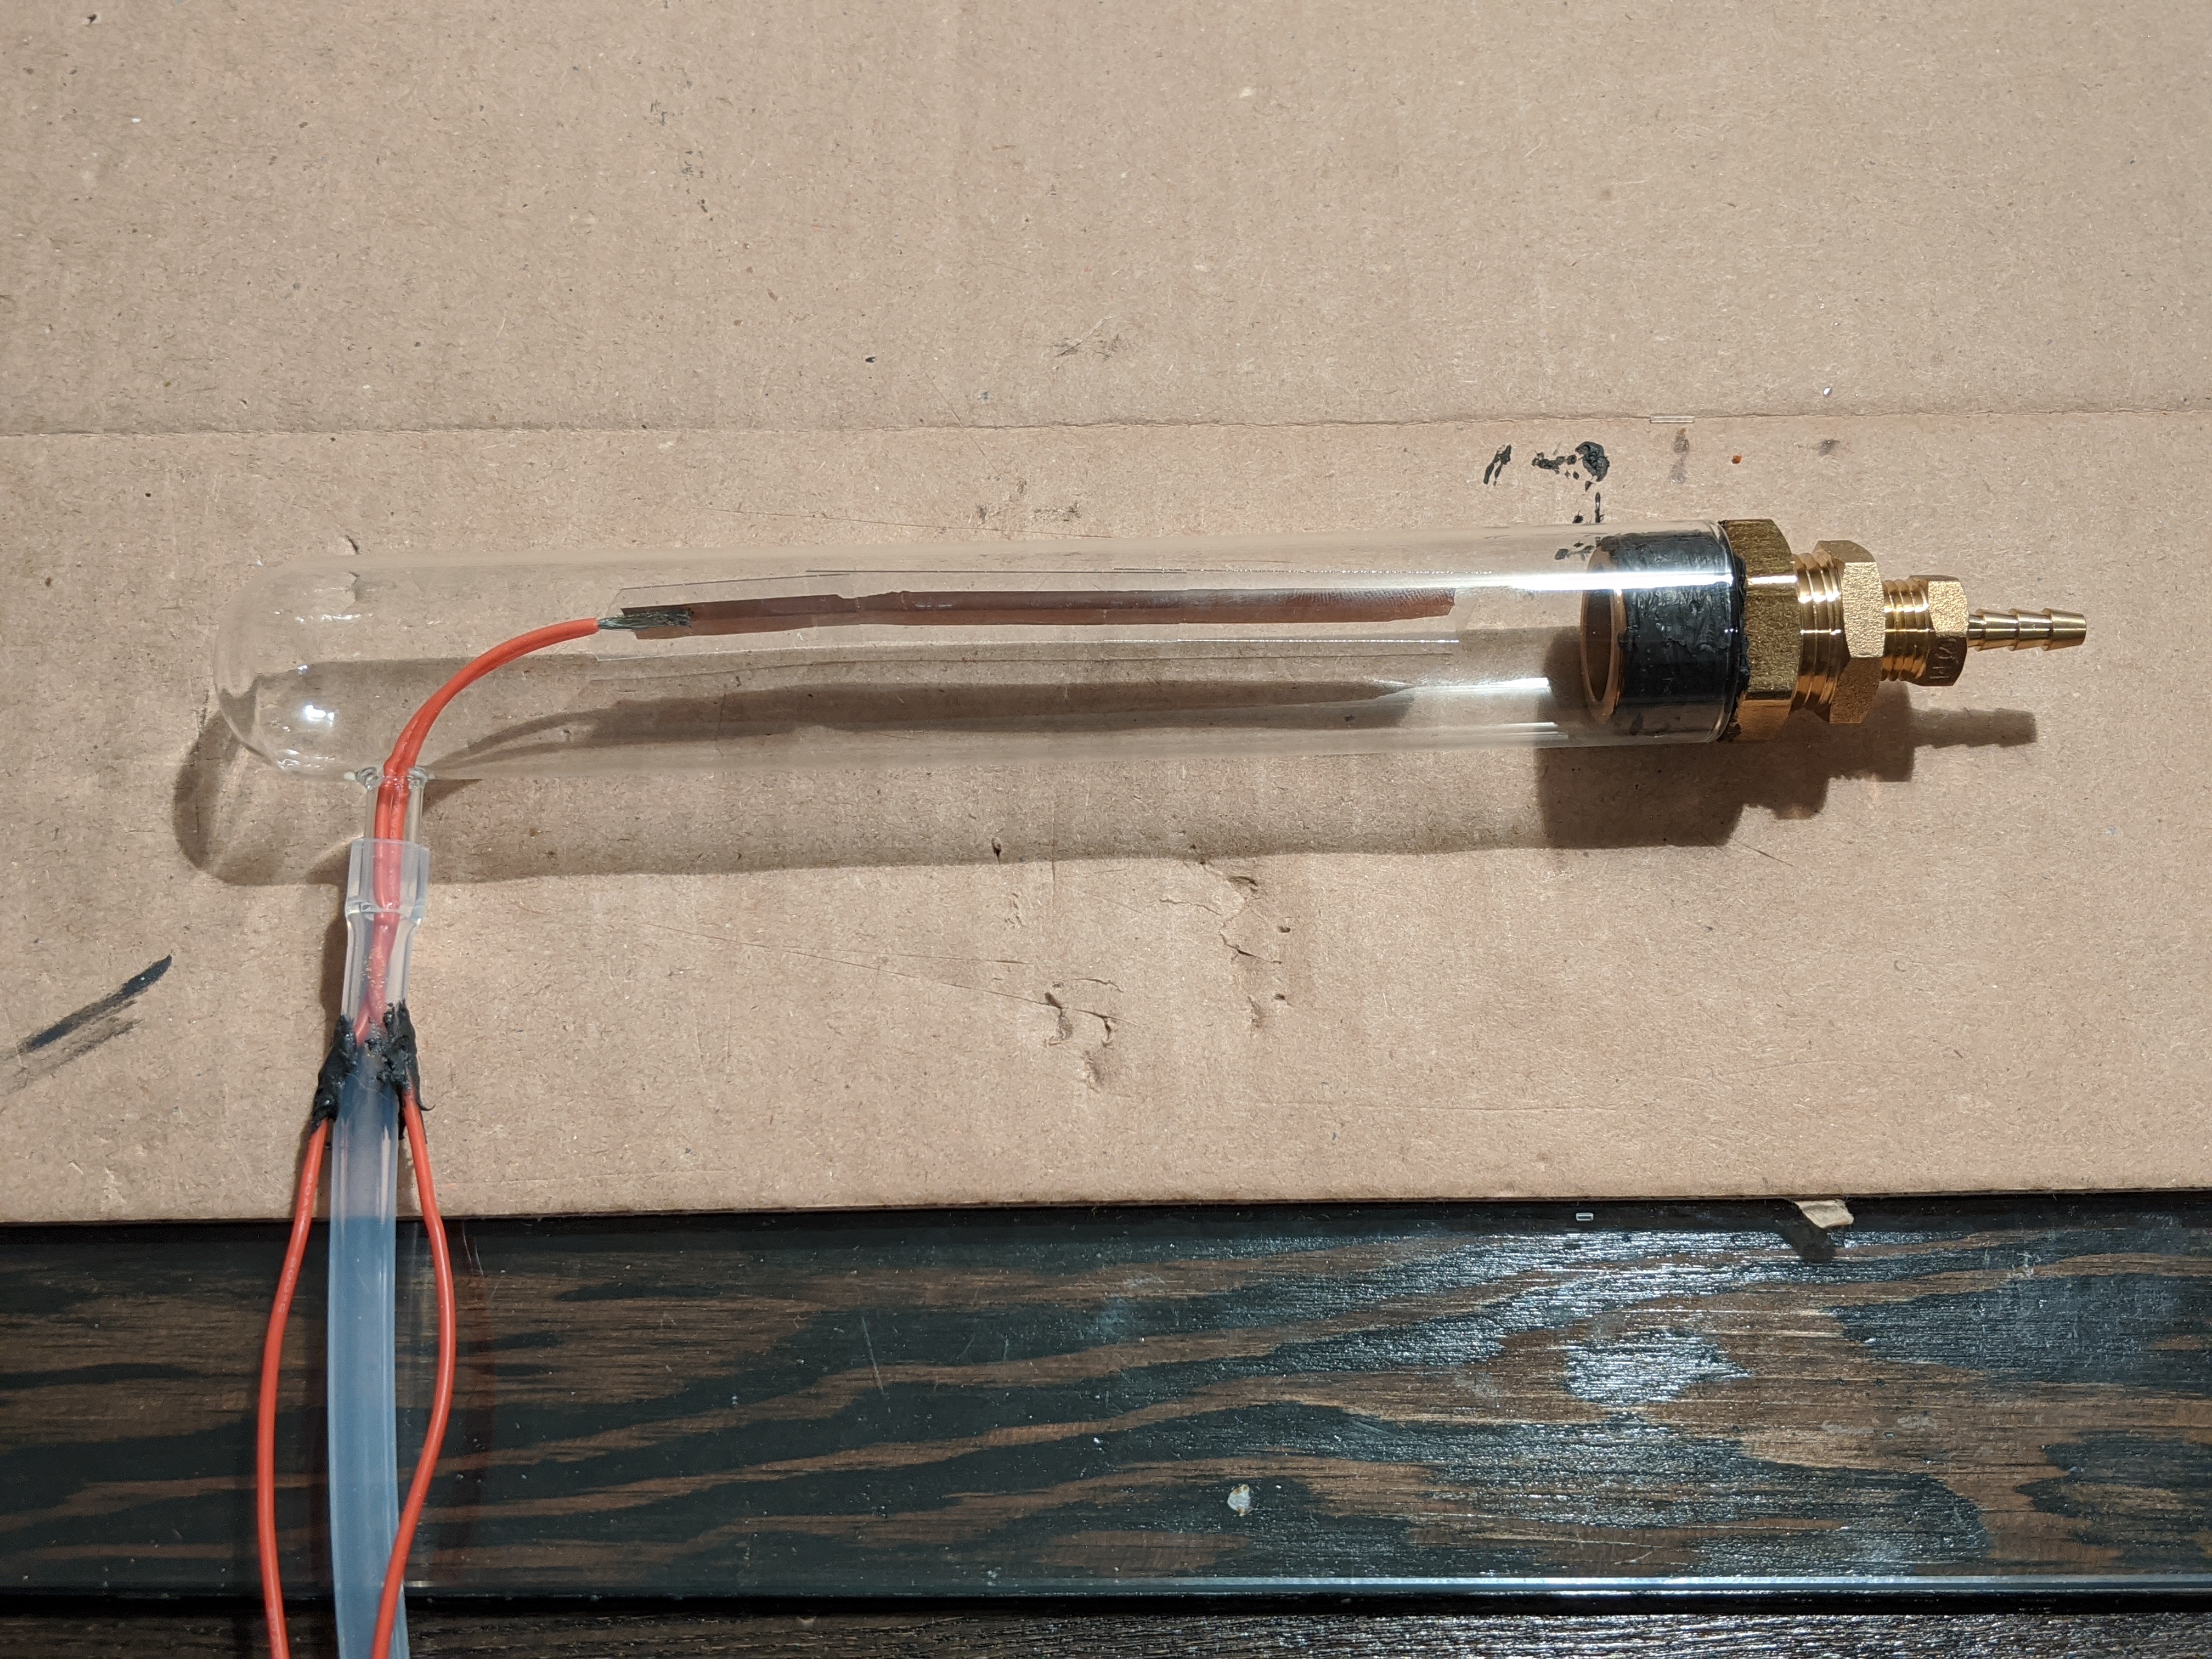
Push the brass
fitting into the end of the glass tube and you are ready to test
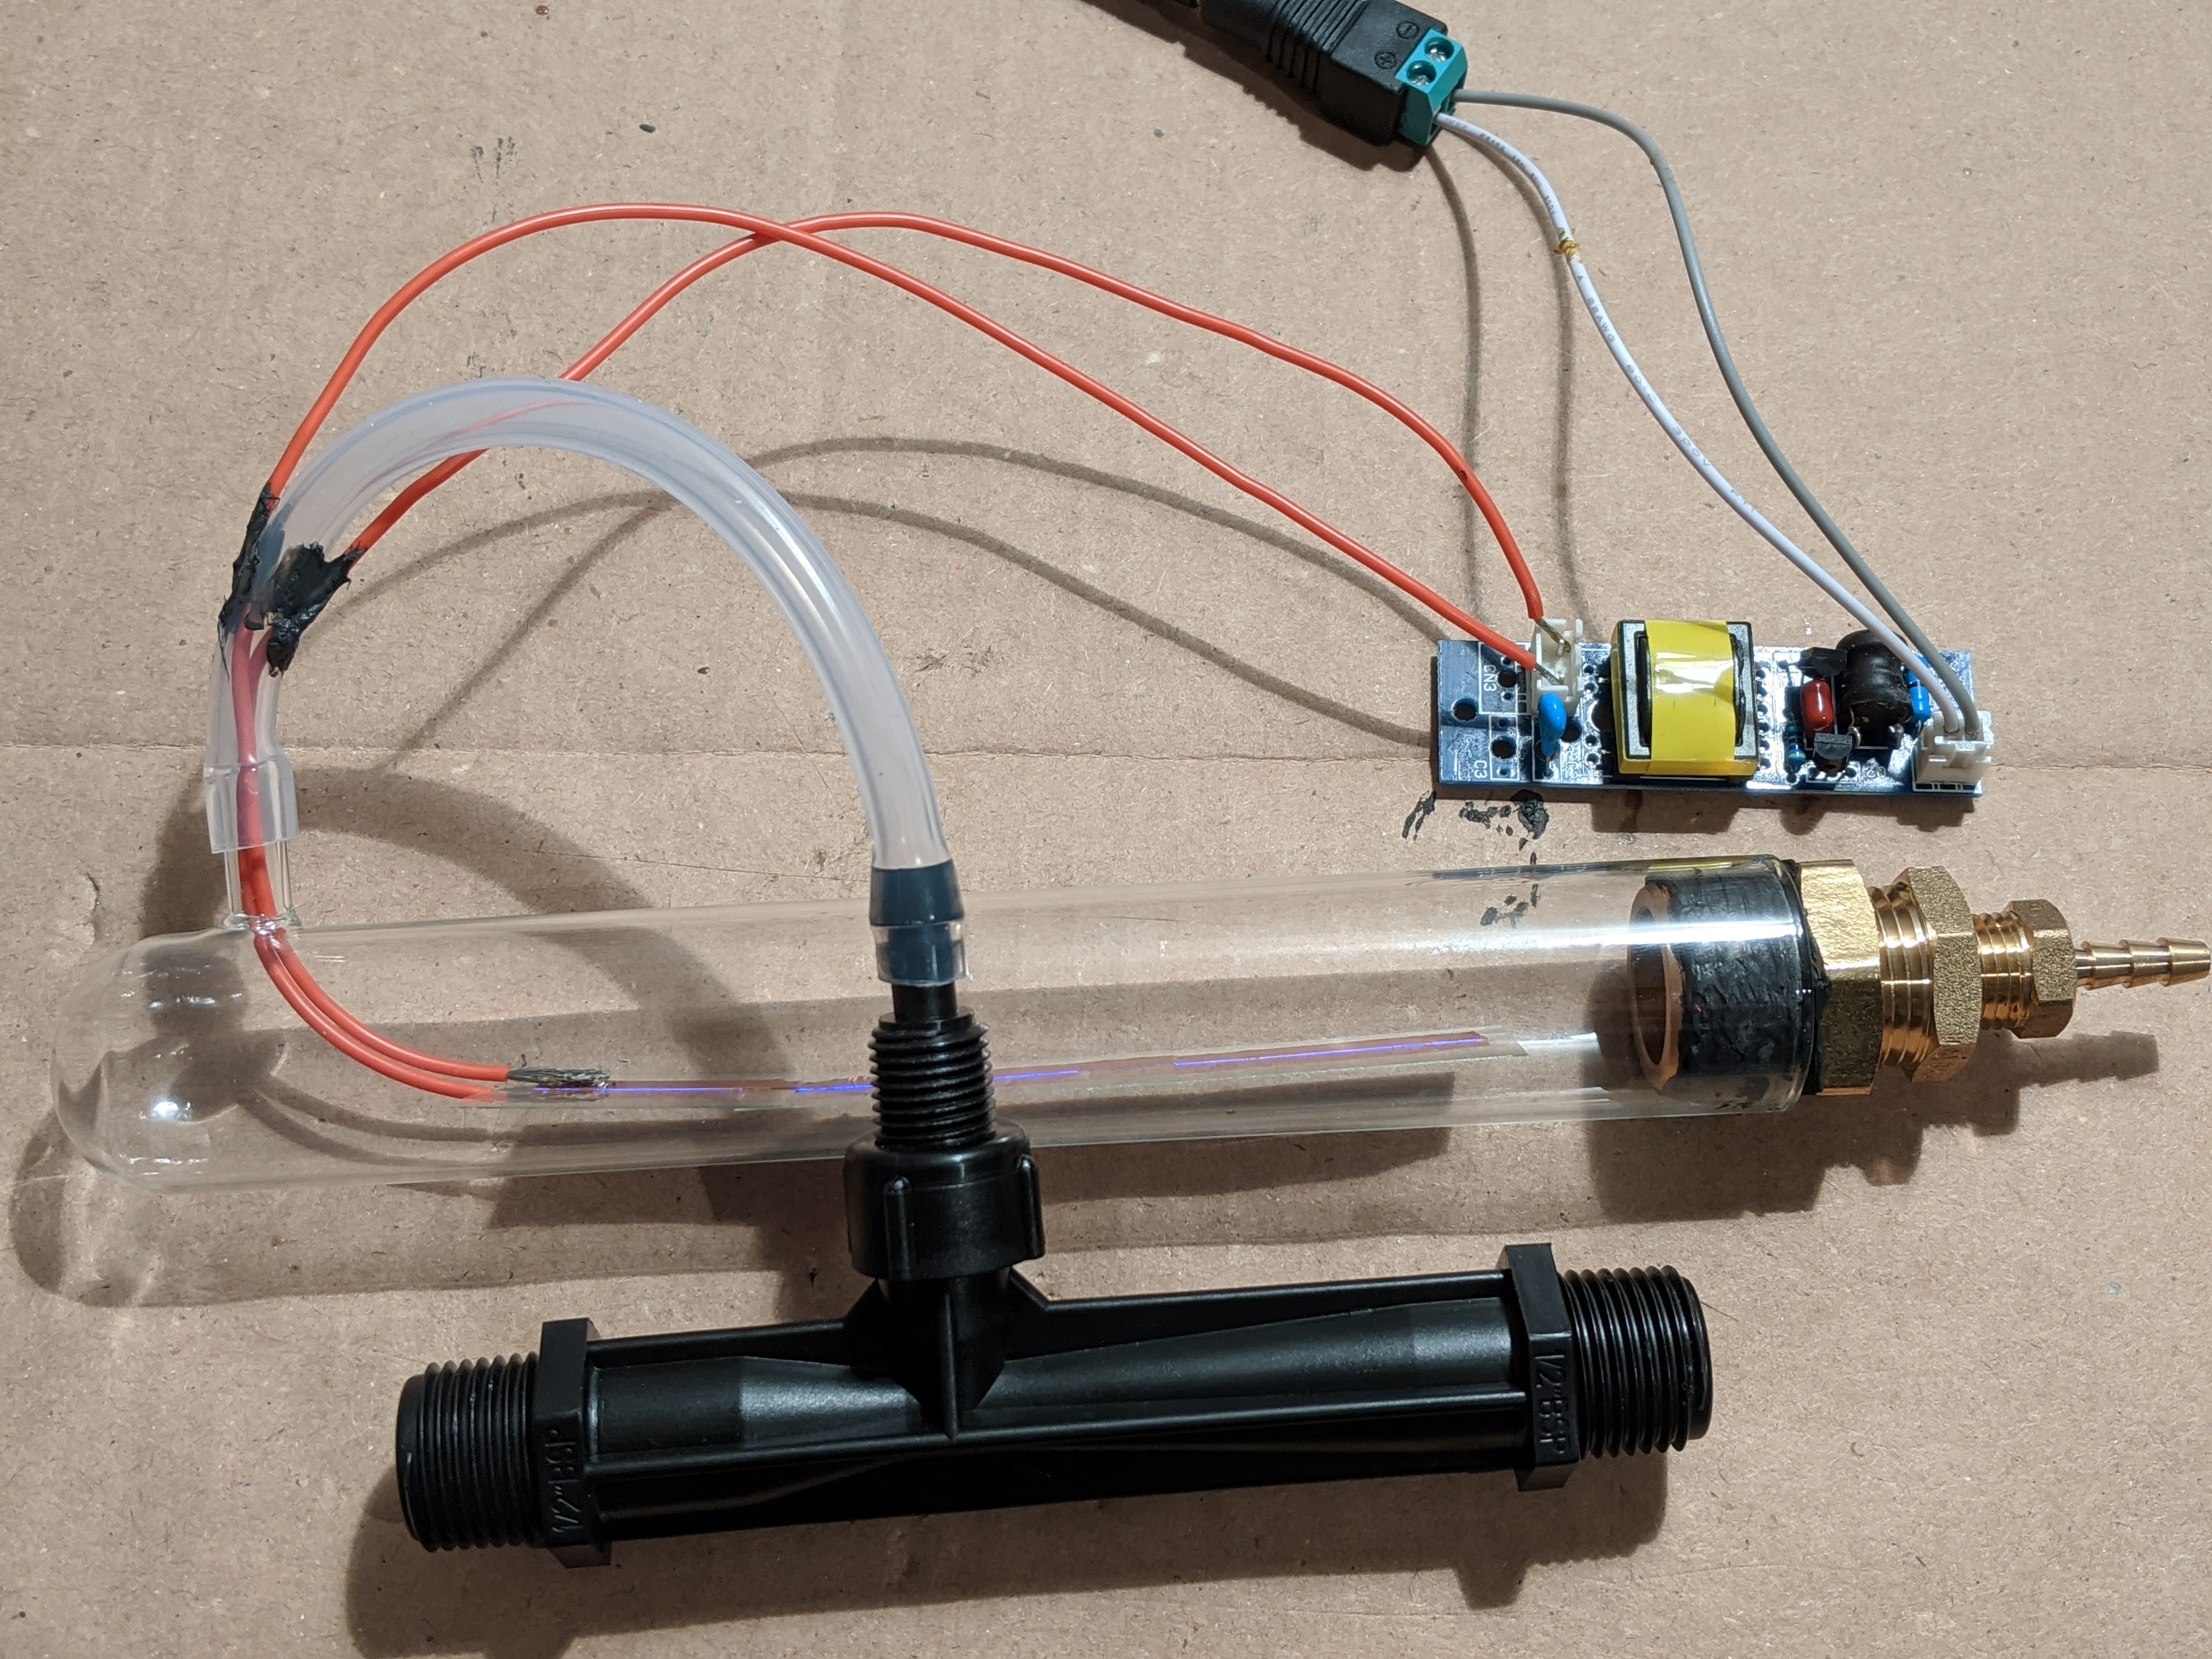
your corona discharge tube.
Tubing can be connected to the opening of a venturi for water
injection. In recirculating systems, return air enters the
brass barb.